How to Create Professional Product Photos With AI
Learn how to create professional product photos with AI, from preparing your source image to generating, refining, and publishing marketing-ready visuals.
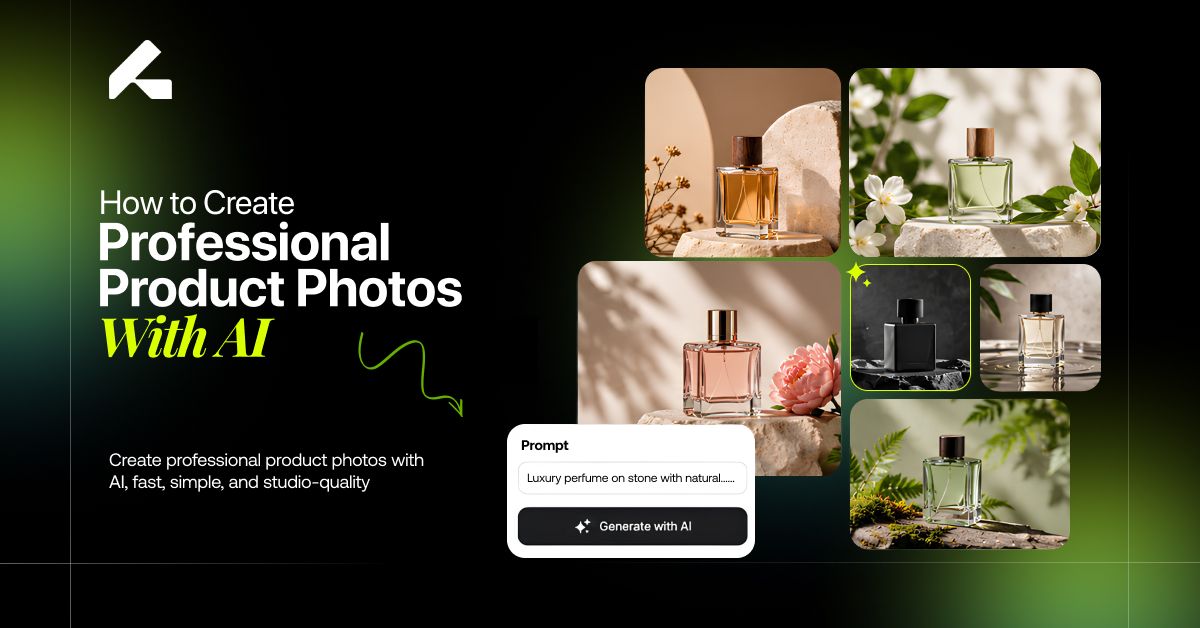
An ordinary product photo, a phone snapshot on a cluttered counter, or a flat, under-lit studio shot, rarely looks polished enough to actually sell on a modern e-commerce page. The gap between an average photo and a genuinely professional one used to mean booking a studio, a photographer, and a full production day. It doesn't have to anymore.
This guide walks through how to create professional product photos with AI, turning a basic source image into a polished, marketing-ready visual without starting from a full studio production. The real work isn't in clicking "generate," it's in the preparation and review around it, which is exactly what this guide focuses on.
Start With the Right Product Image
Everything downstream depends on the quality of your source image, so it's worth treating this step as a genuine investment rather than an afterthought.
Choose a clear product shot. The product should be fully visible, unobstructed, and shot straight-on or at a natural angle, not cropped awkwardly or partially hidden.
Check lighting and product visibility. Even, natural-looking lighting on the original photo gives AI a much better foundation than a shot with harsh shadows or blown-out highlights.
Remove unnecessary distractions. A busy background, stray objects, or visible clutter in the source image tends to confuse the final result more than people expect.
Use the highest-quality image available. A sharp, high-resolution product image preserves far more detail through the generation process than a low-resolution or compressed one.
Decide What You Want the Final Image to Achieve
Before generating anything, it helps to define the outcome you're actually working toward, not just the general style of photography.
Define the product's visual purpose. Is this image meant to sit on a product page, anchor a campaign, or fill out social content? Each answer changes what "success" looks like for this specific image.
Choose the desired mood. Premium, minimalist, playful, luxury, natural, or modern, each mood shapes lighting, color, and composition differently, and choosing one upfront avoids a generic result later.
Determine the composition. Decide whether the product should be centered, off-set, close-up, or shown at a distance within its environment before you start generating variations.
Match the image to your brand. A visual that looks technically good but doesn't match your brand's existing tone will feel disconnected the moment it sits next to your other content.
Prepare Your Product for AI Generation
This step introduces a concept worth understanding directly: product fidelity, the idea that AI should enhance how a product is presented without unintentionally changing the actual product itself.
This is also where AI and traditional photography genuinely diverge. A camera captures a product's real shape, color, and detail automatically, accuracy is essentially guaranteed by the physics of the process. AI has to be guided toward that same accuracy deliberately, which is exactly why fidelity gets its own dedicated step here rather than being assumed. For a fuller look at where each approach has the edge, see our comparison of AI vs traditional photography.
Identify the product's essential features. Know which specific details, a stitch pattern, a material finish, a distinctive shape, absolutely need to remain visible and accurate.
Protect logos, labels, and packaging. These are the most common place small AI inconsistencies show up, and they're worth flagging as non-negotiable before generation starts.
Decide which elements must stay unchanged. Product shape, color, and branding usually belong in this category.
Identify elements AI can modify. Background, lighting, environment, and composition are generally safe to let AI adjust freely, since changing these doesn't misrepresent the product itself.
Build the Visual Direction for Your Product
This is where creative direction actually gets defined, before any generation happens.
Select the environment. Studio, lifestyle setting, outdoor scene, or a branded backdrop, whichever fits the mood and purpose decided earlier.
Define the lighting style. Soft and diffused, dramatic and directional, or bright and even, lighting does more to set tone than almost any other single choice.
Choose the camera perspective. Eye-level, slightly elevated, or a close-up angle each communicate something different about the product.
Set the product position. Decide where in the frame the product sits and how much of the surrounding scene should be visible around it.
Specify the overall aesthetic. A clear, specific description, rather than a vague one, gives AI a much better target to generate toward, this is essentially where instructions and prompts come into the process, without needing to treat this as a separate technical skill.
Generate Your First Professional Product Image
This is the core practical section, the actual step-by-step process of turning a prepared source image into a finished, professional visual.
Step 1: Upload a clean product image. Start from the prepared, high-quality source photo covered earlier, not a rough draft or a placeholder shot.
Step 2: Choose the desired setting. Select the environment you defined earlier, studio, lifestyle, outdoor, or branded backdrop. This is also the natural point to settle on which platform actually fits your workflow, since setting and scene options vary meaningfully between tools. Our comparison of AI product photography tools is worth reviewing here if you haven't already picked one.
Step 3: Define lighting and camera perspective. Set the lighting style and camera angle you decided on during the visual direction stage, rather than leaving either to default settings.
Step 4: Provide clear visual instructions. Describe the scene specifically, the mood, composition, and any details that matter, rather than a vague, general prompt. Specific instructions consistently produce more usable first results than broad ones.
Step 5: Generate the first variation. Treat this as a draft, not a finished asset. First generations are a starting point to evaluate, not the final image you publish.
Step 6: Check product accuracy. Compare the result directly against your product fidelity requirements, shape, color, logo, and texture, before deciding what needs adjusting.
Step 7: Refine the result. Adjust and regenerate based on what the accuracy check turned up. The next section covers this step in real depth, since refinement is where a usable image actually gets made.
Step 8: Export the final visual. Once the image passes your accuracy and quality checks, export it in the resolution and format your destination channel actually requires, a product page, an ad, or a social post each have different specifications worth confirming before publishing.
Refine the AI-Generated Product Image
Generating one image rarely produces a finished result on the first try, and refinement is where a usable photo actually gets made.
Fix product placement. Adjust framing or positioning if the product doesn't sit naturally within the generated scene.
Improve lighting and shadows. Uneven or unrealistic lighting is one of the most common issues worth correcting before publishing.
Adjust background elements. Simplify or refine a background that's pulling attention away from the product itself.
Correct unwanted visual details. Small artifacts, distortions, or inconsistencies need to be caught and fixed here, not after publishing.
Balance the overall composition. Make sure the final image still reads clearly at a glance, not just on close inspection.
Make AI Product Images Look More Realistic
Realism is a distinct goal from simply generating an attractive image, and it deserves its own deliberate attention.
Use natural light direction. Light should appear to come from one coherent source, not multiple conflicting directions across the same image.
Create believable shadows. Shadows that don't match the light source or the product's actual shape are one of the fastest ways an image reads as artificial.
Preserve realistic product proportions. Subtle stretching or distortion undermines trust even when a viewer can't consciously identify what looks wrong.
Avoid excessive visual effects. Over-processed lighting, exaggerated glow, or unnecessary stylization tends to work against realism rather than for it.
Keep background and product in perspective. The product's scale and angle need to genuinely match the environment it's placed in, not just sit on top of it.
Create Consistent Images Across Your Product Catalog
For any real catalog, consistency matters as much as any single image's quality.
Maintain the same visual style across every product, rather than deciding the aesthetic fresh for each one.
Keep product scale consistent, so items don't appear to shrink or grow relative to each other across a category page.
Use similar lighting across images, since mismatched lighting is one of the fastest ways a catalog looks disjointed.
Establish repeatable visual guidelines, a defined style your team, or your workflow, can apply consistently to every new product going forward, rather than reinventing the approach each time.
Turn One Product Image Into Different Visual Variations
This is where a single accurate source image starts to earn its value many times over.
Create different backgrounds for the same core product shot without needing a new physical setup.
Change the environment entirely, from studio to lifestyle to outdoor, using the same underlying image.
Create different compositions, close-up, wide, angled, from one consistent source.
Produce campaign variations suited to a specific seasonal push or promotional concept. A fashion brand, for example, can turn one existing product photo into an entire AI fashion campaign, different poses, settings, and outfits, without booking a new photoshoot for each variation.
Adapt visuals for different marketing needs, a product page needs something different from a paid ad or a social post, and one source image can realistically serve all three.
Check Your Product Image Before Publishing
A short quality-control pass catches most problems before a customer ever sees them.
Product accuracy: shape, color, logo, packaging, and texture all need to match the real product.
Visual quality: resolution, lighting, shadows, edges, and background all need a final look before publishing.
Brand fit: colors, mood, composition, and overall appearance should feel consistent with the rest of your brand presence.
Commercial readiness: does the image communicate the product clearly? Is the product still the main focus? Does it look credible enough for a real customer to trust?
Create Professional Product Photos With Limli
Limli is built around this exact process, rather than treating image generation as a single isolated step.
Start with an existing product image, the same accurate source photo this guide has focused on throughout. Create a new visual direction, defining environment, lighting, and mood before generating anything. Generate professional product imagery built specifically around preserving product fidelity while expanding into new scenes and formats. Refine and produce variations, turning one accurate source image into a full set of studio, lifestyle, and campaign-ready visuals.
Create Professional Product Photos With Limli → https://www.limli.ai/
Where You Can Use AI-Created Product Photos
The value of this process shows up across nearly every channel a product touches. Online store product pages benefit from a clean, accurate hero image paired with supporting shots. Product catalogs gain consistency across large numbers of SKUs. Promotional campaigns get fresh creative without a new shoot for every push. Social content needs frequent, platform-specific variation. Paid advertising performs better with more creative concepts to test. Email marketing can reuse existing visuals for launches and promotions rather than commissioning new photography each time. This is the same ground covered in more depth in our guide to AI product photography for e-commerce, which looks at these use cases at a broader, catalog-wide level.
Frequently Asked Questions
Can I create professional product photos from an existing image
Yes, a single clear, high-quality source image is usually enough to generate a full range of professional-looking variations.
How do I keep my product looking accurate when using AI?
Focus on product fidelity, protecting shape, color, logos, and packaging while allowing background, lighting, and environment to change freely.
Can AI create different versions of the same product photo?
Yes, this is one of the strongest use cases, turning one accurate source image into multiple backgrounds, compositions, and campaign variations.
How can I make AI product images look realistic?
Prioritize natural light direction, believable shadows, accurate proportions, and restraint on visual effects, treating realism as its own deliberate goal rather than a side effect of generation.
Can AI-generated product photos be used for e-commerce?
Yes, provided they pass a genuine quality-control check for accuracy, resolution, and brand fit before publishing.
How do I create consistent images for my catalog?
Establish a repeatable visual style, consistent lighting, and consistent product scale, then apply those same guidelines to every new product rather than deciding the look fresh each time.